(Pictured: my first round of lacto-fermented pickles from 2021)
What are you doing differently this year? What do you want to learn?
Last year I got some inspiration from a HB post about pickling cucumbers and it was a really enriching and fascinating journey to learn about pickling and fermenting.
This year I want to stay on that train but learn to ferment habañeros, but my other goals are a gourd arch (for the pickling cucumbers), going to try drying beans for the first time in 10 years (I found a place to harvest bamboo that I'm going to use to make some huge trellises), and I want to try celery and also do garlic, potatoes, sweet peppers and eggplant.
I also want to learn about saving seeds, but I say that every year.
So what about you comrade? Share your inspirations!.
built raised beds and put in some thornless blackberries
didn't mulch the yard yet so gonna try to do a bunch of weeding today to get ready for spring
Thornless blackberries? That's wild where I live blackberries are invasive and grow like crazy everywhere, nobody would plant blackberries here because you can fill your bucket within a 15 minute walk wherever you live.
Good berry though. We're still working through our blackberry jam from last year.
Yeah lacto-fermenting is when you just dump brine on them, making an environment favourable for lactobacilli (et al) to turn the sugars into lactic acid. (This is in opposition to just pickling where you dump that acetic acid on em).
Working to establish some more perennials this year, going to grow some perennial kale varieties, in addition to sorrel and expanding my existing asparagus patch. I established some blueberries and strawberries last year, in addition to some apple trees. I also found a kiwi fruit variety that’s self-polinating that I’d like to add, maybe a peach.
Yeah I recently realized green onions are perennial, as my green onions remained hanging around all winter.
I've always been interested in asparagus, but hesitant to put in the investment as I rent. Am I right that it takes a few years before they produce?
So because you’re essentially harvesting the immature stalks of the plant, picking it in the first two years will kill the plant. You can buy established cones which can be picked sooner, but it’s significantly more expensive than starting from seed.
I unfortunately no longer have garden space but I used to grow and ferment peppers every year! I still do the fermenting but now I have to bum peps from my friends with yards. My favorite is a simple pepper paste. Just food process the fuck out of your peppers, add a little salt, and ferment it for anywhere from a few days to a month. It gets a really nice funk, a little heat, and is great on everything. Also like making hot sauce.
I'm new to the world of fermenting peppers, but I have all summer to learn - what essentially is the difference between making that paste you described and making a hot sauce?
Also which peppers do you recommend?
Peppers are mostly personal preference. I noticed you mentioned habaneros which were some my favorites to grow. Obviously it depends on your spiciness threshold but I'd say get a nice variety to grow and see what works best and what you like cooking with.
The paste is fermented longer and really just the two ingredients. Hot sauce tends to have a shorter fermentation depending on the recipe and has the addition of vinegar and other adjuncts depending on the recipe.
Happy to share some recipes for both paste and hot sauce when I get home from the bar!
Here's the paste recipe I use. It's very similar. It calls for a ton of peppers but I've never had a problem scaling it waaaaay down.
Pepper Paste
yield: about 1 quart (fermentation vessel: 1 quart)
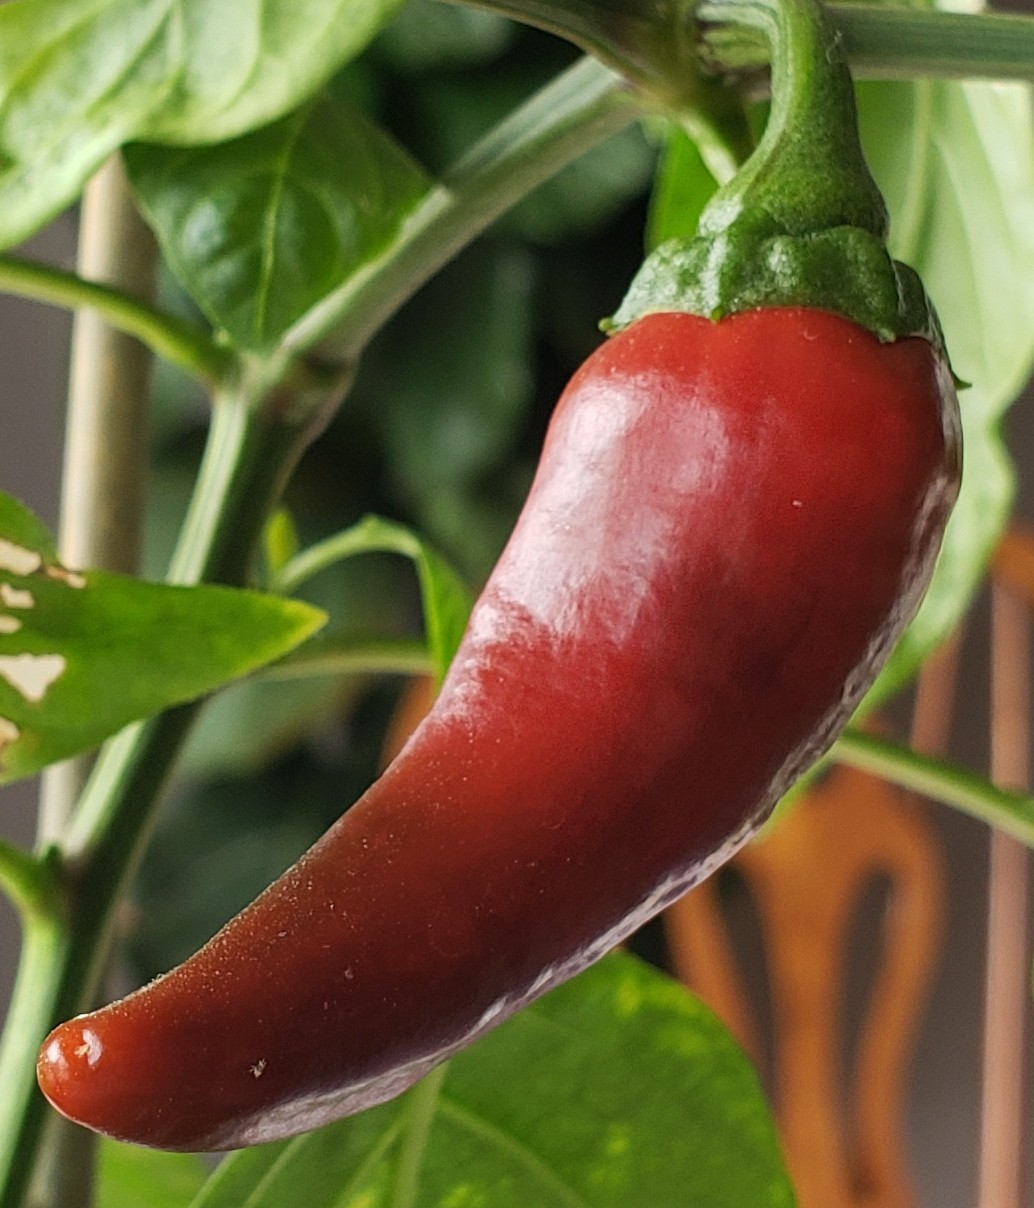
In addition to its visual appeal and the taste, the beauty of this paste is its simplicity. We make a gallon of it every year. If the fam- ily ate this freely, it would never last, but we save it in small jars and dole it out. The bonus: It gets better over time. You can easily scale up this recipe to make a gallon-size batch. Use whatever type of chile you have. Our favorite is the fire-engine red Fresno, in part because its color is so appealing. It's similar to a jalapeño but is usually hotter.
Ingredients: 1/2 pounds chiles, stemmed 2 teaspoons unrefined sea salt
-
Put the chiles, seeds and all, in a food proces-sor and pulse until coarsely chopped. Remove the food processor blade and stir in the salt.
-
Press the mixture into a crock or jar (see the note below). For a crock, add a primary follower: food-grade plastic screening (see page 36), like that used in a dehydrator, cut to size, works best to keep the small bits under the brine; otherwise, top the ferment with a quart-sized ziplock bag. Press the plastic down onto the top of the fer-ment, then fill it with water and seal; this will act as both follower and weight.
-
Set aside on a baking sheet to ferment, somewhere nearby, out of direct sunlight, and cool, for 21 days or more. Check the chiles occasionally to make sure your weights are in place and the chiles are submerged. It is nor- mal to encounter yeasts; you can leave them undisturbed. The chiles take at least 3 weeks to develop a flavorful acidity, then 3 to 6 months more for a delicious and complex flavor.
-
Store in an airtight jar in the refrigerator, where this paste will keep for 2 years or more.
Note: For a long-term ferment, use a water-seal crock (see page 34) to help control the growth of yeast.
VARIATION: Hot Sauce To make a Tabasco-style hot sauce, strain the paste through cheesecloth to remove some of the brine.
Splash a bit of raw apple cider vinegar into the brine and voilà! — hot sauce. The brine mixture makes a tangy flavoring to add to anything from refried beans to guacamole.
Return the paste to the jar, tamp it down to keep it moist, cover with a small sheet of plastic, and screw on the lid.
:sankara-salute: thank you comrade, I will star this post and get back to you in six months
-


