Part one is here https://hexbear.net/post/117405 Part one album https://imgur.com/a/B6Ot7u6
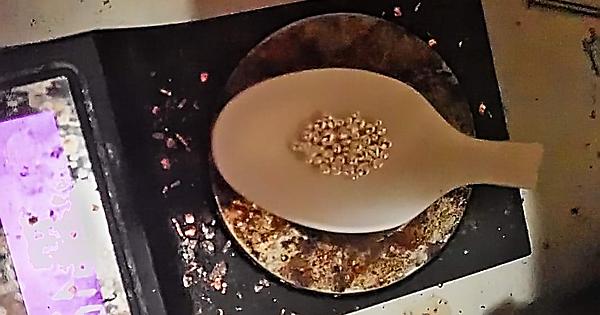
In part one, I sawed, grinded, polished, and drilled beads and a pendant from a piece of raw amber. In this part two, I alloy Silver, Copper, and a bit of Bismuth, cast it into an ingot, put it through a metal press and hand-cank it into a thin wire, pull it through a drawplate to thin it further down to around 20 gauge, then coil and saw into rings, which I put together into a simple chain, with one of the amber beads from earlier attached to an end.
the plan I have for the finished necklace is going to be
--------------o---o---o---V---o---o---o--------------c
where "o" is a bead, and "V" is the pendant, and "c" is a clasp (not to scale, and the chain will hook into the top of the pendant, not through the middle). The last picture in the series is essentially one of the "o---" sections. Now to make 5 more of those, add some more chain, and add on the pendant! Hopefully Part 3 will be uploaded sooner than this update took, it took longer than I would have wished to get some of the supplies I needed for the metalworking, but now I should be good to go!


Ah, I meant, how does it fit at first through smaller hole than it’s diameter, or you file the end down beforehand (or it’s already thin there)? :thonk:
Oh yeah, I used sandpaper to like almost shapen one end down to a point, so that you can at least get a little bit through the hole, to grab on the other side with plyers, then pull the rest of it through. Its pretty tough and actually has been giving me a good arm workout :)
Also, why bismuth? Lower melting point?
Yeah, plus it makes it more malleable. I was originally using tin but it kept making it way too brittle, so I tried bismuth and it worked like a charm. Plus I like subtle visual characteristics it imparts on the alloy. Bismuth Bronze is a thing too, so it seemed like it'd have potential to me.